Growing up in New England, warm bread baking was pure comfort. It filled our home with beautiful aromas. That scent promised warmth, family, and delicious memories. For years, I believed homemade bread was a weekend project. It seemed to demand hours of kneading and rising.
Life often moves quickly. Long, slow moments are hard to find. I still craved fresh, soft bread for my family. My quest for a quick recipe led me here. This quick 20-minute homemade bread recipe is my answer. It brings treasured comfort right to your kitchen.
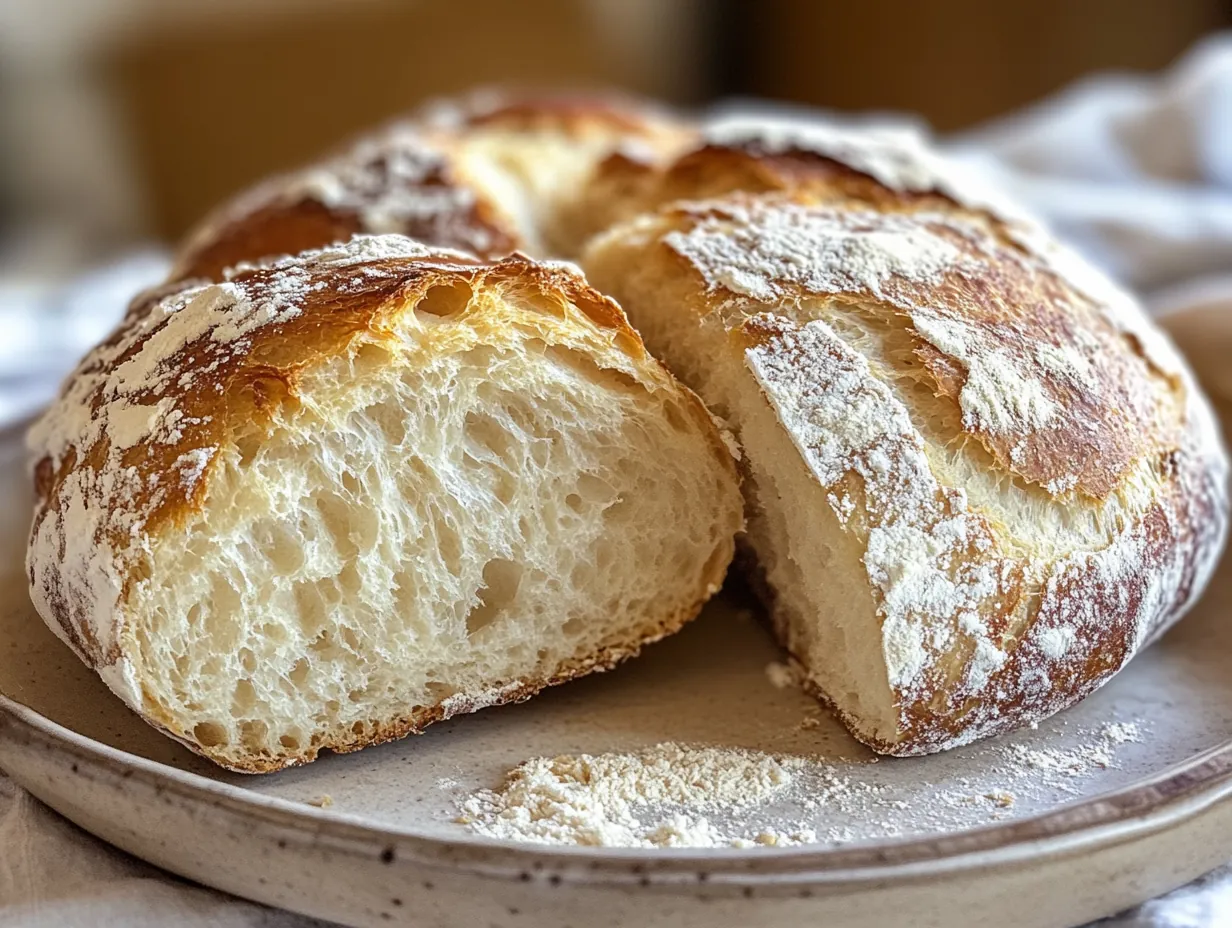
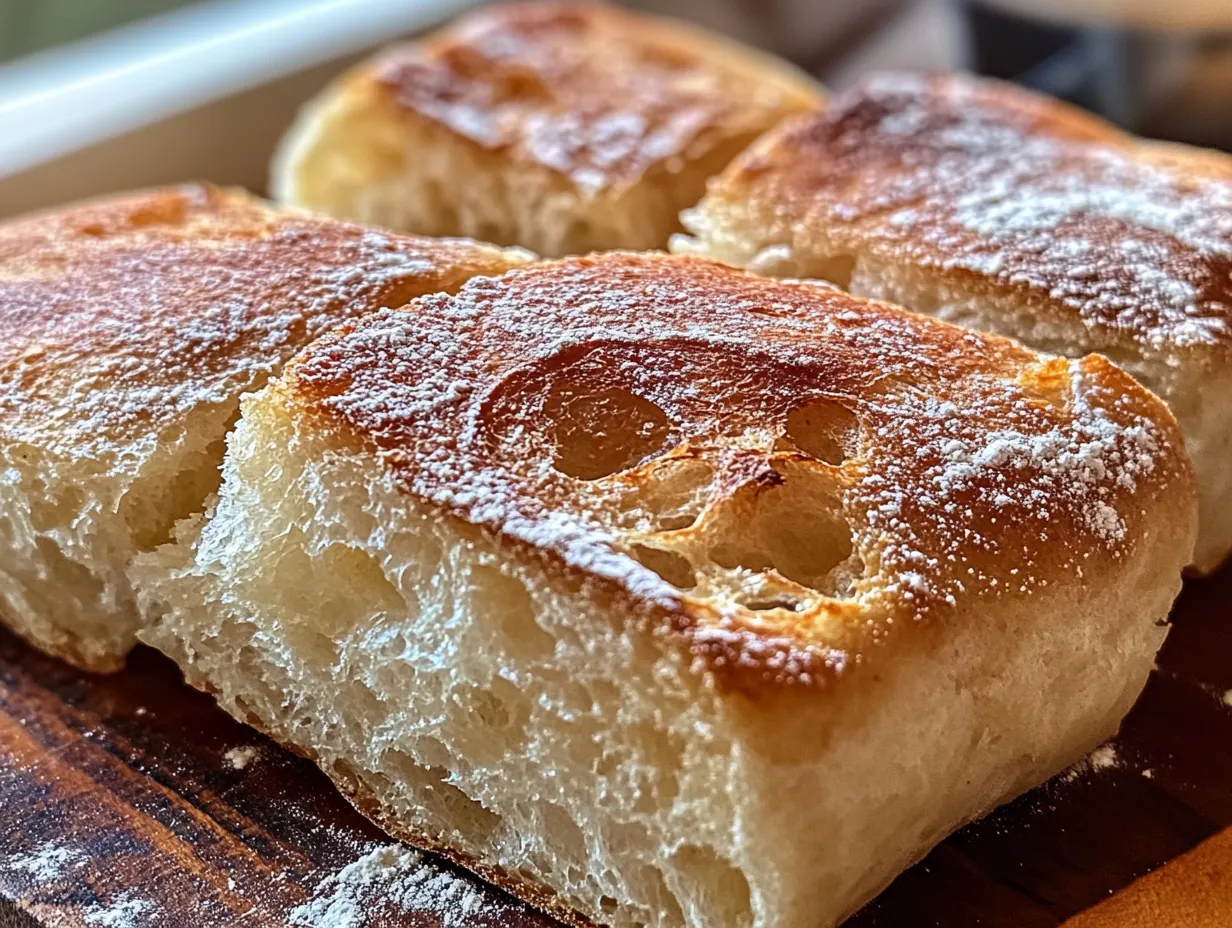
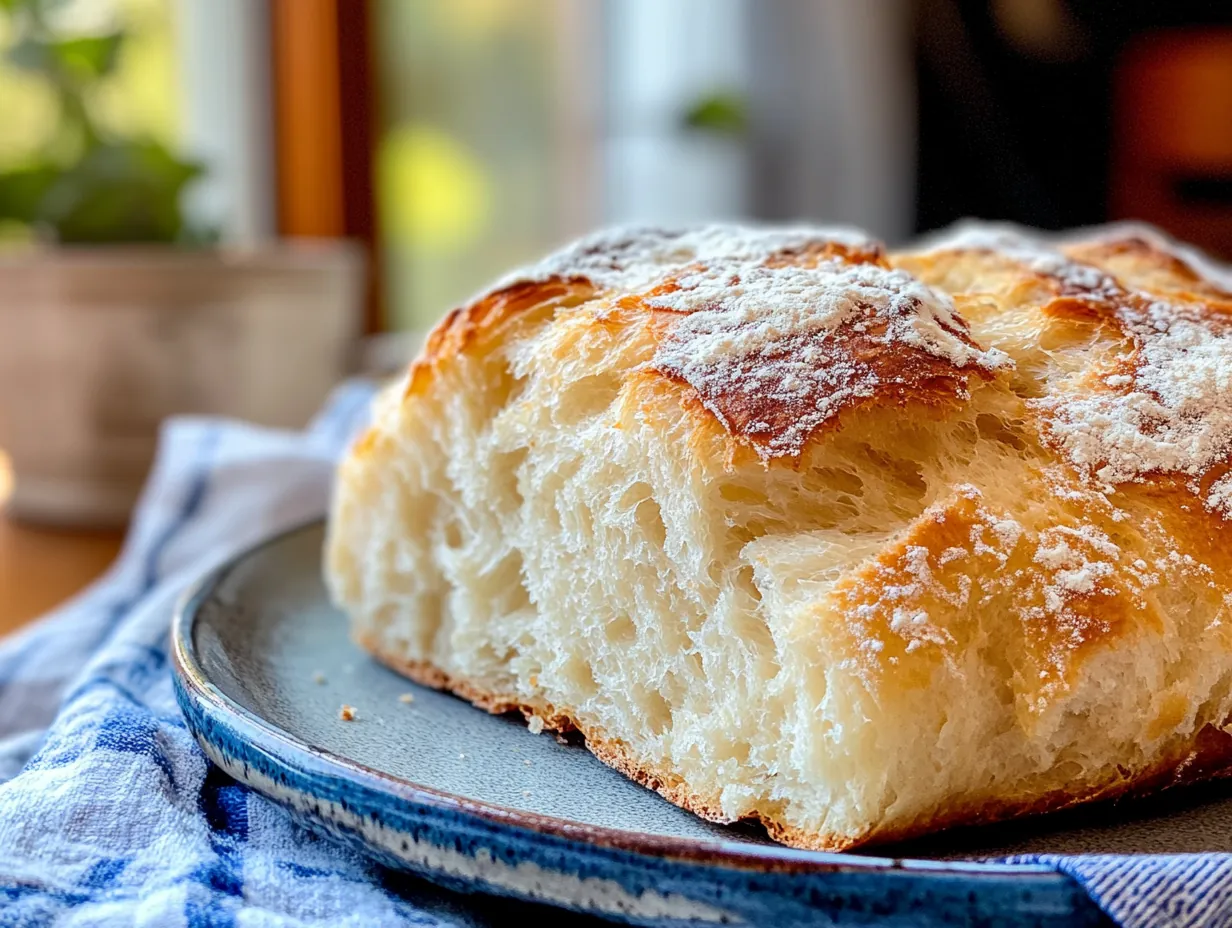
Imagine slicing into a warm, fluffy loaf minutes after mixing. This recipe proves you do not need to be an expert baker. You do not need a whole day for dough. It is simple, straightforward, and rewarding. Every bite offers tender crumb and delightful crust. It is perfect for breakfast or dinner. This bread becomes a wonderful staple.
It has become a family favorite. We enjoy it with butter and jam. Sometimes we use it for quick sandwiches. I love how it makes our house feel like home. It creates beautiful, simple moments we cherish. Get ready to bake happiness today.
Simple Ingredients for Your Speedy Bread
Making delicious bread does not require fancy ingredients. This quick recipe's magic lies in its simplicity. You likely have most items in your pantry. Each ingredient helps create a fluffy, flavorful loaf. Let us gather these basic staples.
- 2 cups all-purpose flour
- 1 tablespoon sugar
- 1 tablespoon instant yeast
- 1 teaspoon salt
- 0.75 cup warm water (about 110°F)
- 2 tablespoons olive oil or melted butter, plus more for brushing
All-Purpose Flour: This is your bread's backbone. Use unbleached for best texture and flavor. Its protein gives a tender crumb. For a chewier loaf, use bread flour for up to half. For a denser bread, swap a quarter with whole wheat. Whole wheat absorbs more liquid; you might need extra water.
Instant Yeast: Key to our quick rise. Instant yeast works fast; no prior proofing needed. Check expiration date. Old yeast will not activate. If using active dry, proof it in warm water and sugar for 10 minutes first. Look for foam to ensure it is alive.
Warm Water: Crucial for yeast activation. Water needs to be warm, 105°F to 115°F (40°C to 46°C). Too hot kills yeast. Too cold will not activate it. A thermometer helps. Water should feel comfortably warm, not scalding. It hydrates flour and helps gluten develop.
Bake Your Own Quick Bread: Step-by-Step Guide
Get ready to experience the pure joy of baking your own warm, delicious bread. This process is so simple and quick, you will wonder why you have not tried it sooner.
- Activate the Yeast: In a large mixing bowl, combine 0.75 cup warm water, 1 tablespoon sugar, and 1 tablespoon instant yeast. Give it a gentle stir. Let this mixture sit for 5 minutes. You will see it become wonderfully foamy on top. This foam indicates that your yeast is alive and ready to work its magic.
- Combine Dry and Wet Ingredients: Add 2 cups all-purpose flour, 1 teaspoon salt, and 2 tablespoons olive oil (or melted butter) to the yeast mixture. Using a sturdy spoon, stir everything together. Continue stirring until a soft, shaggy dough forms. It should just come together without being too sticky.
- Shape the Dough: Lightly flour your hands and a clean work surface. Turn the soft dough out onto the prepared surface. Gently shape the dough into a loaf. Place the shaped loaf onto a baking sheet lined with parchment paper. This parchment paper will prevent sticking.
- Short Rest and Oven Preheat: Let the shaped dough rest on the baking sheet for just 5 minutes. During this brief period, the yeast will continue to work. The dough will slightly relax and puff up. At the same time, preheat your oven to 400°F (200°C). A hot oven helps the bread rise quickly.
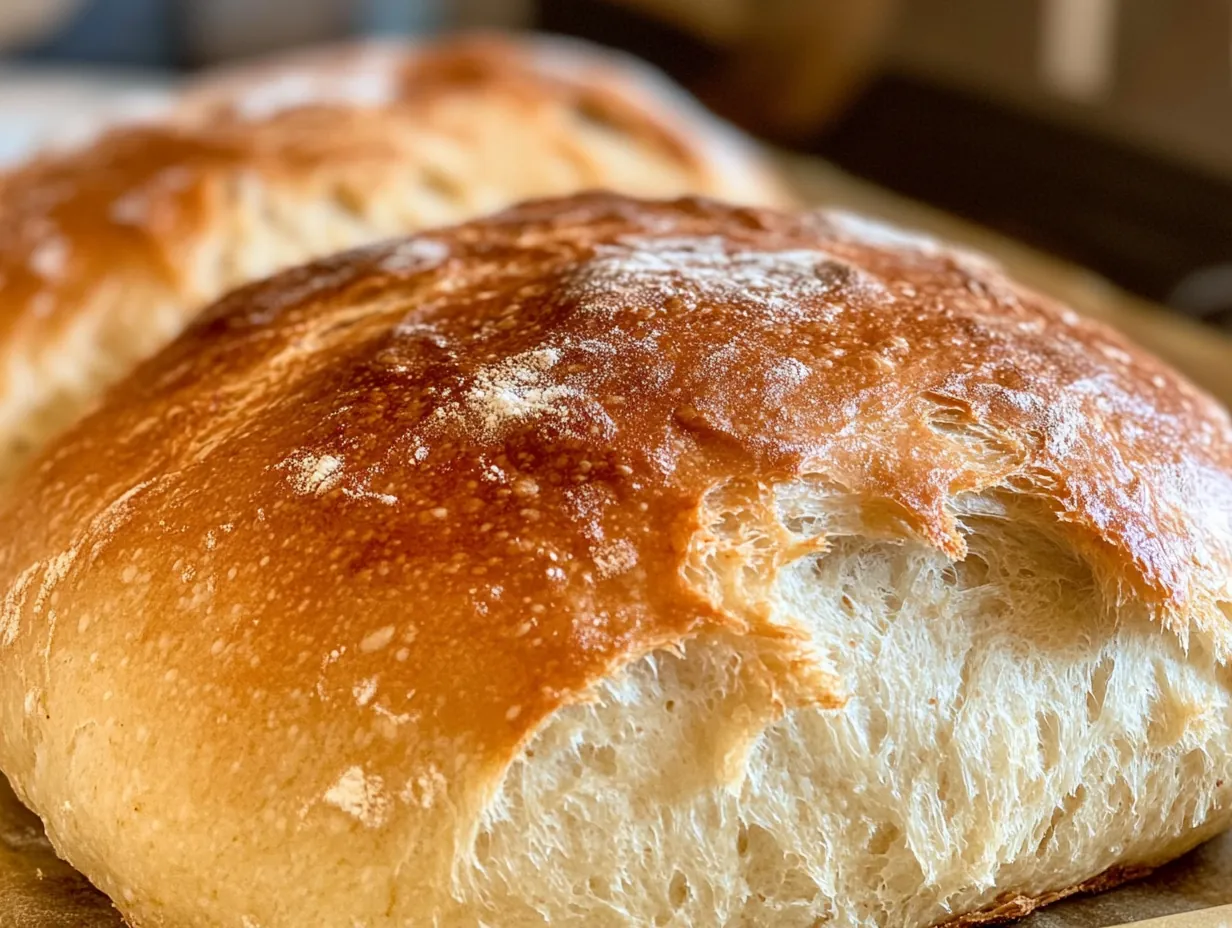
- Brush and Bake: Before placing the loaf into the preheated oven, lightly brush the top of the dough with a little extra olive oil or melted butter. This step helps create a beautiful golden-brown crust. Bake the bread for 15 minutes. Watch it closely. It should turn a lovely golden color on top.
- Cool and Serve: Once baked, carefully remove the hot bread from the oven. Transfer it to a wire rack. Let it cool slightly for at least 5-10 minutes before you slice into it. This cooling time is essential. It allows the internal structure of the bread to set properly. Then, slice and serve your warm, homemade bread. Enjoy the incredible taste!
Creative Twists and Flavorful Pairings
This quick homemade bread is wonderfully versatile. It makes a fantastic base for delicious additions. Get creative and tailor it to your tastes. Here are some favorite touches and delightful pairings.
My Creative Touch:
Herb and Garlic Bread: Add 1 teaspoon dried Italian herbs and 2 cloves minced garlic with flour. This infuses aroma and a wonderful kick. This savory bread pairs perfectly with pasta or stew. Brush the top with garlic butter for extra flavor.
Cheddar and Chive Loaf: Mix 0.5 cup shredded sharp cheddar and 2 tablespoons chopped fresh chives with flour. Cheese melts into gooey pockets. Chives add a fresh, oniony note. This bread is excellent for breakfast eggs or a fantastic grilled cheese.
Gourmet Pairings:
Warm Apple Cider: Warm apple cider's sweet, spiced notes complement the bread's simple, earthy flavor. This pairing evokes cozy autumn evenings. It is a perfect, comforting snack, bringing New England charm.
Hearty Lentil Soup: Serve your quick homemade bread alongside a steaming bowl of hearty lentil soup. The bread soaks up the rich, savory broth. Textures are a perfect match. This combination makes for a satisfying and nourishing dinner.
Keeping Your Homemade Bread Fresh
Enjoying fresh bread is wonderful, but proper storage extends deliciousness. Homemade bread lacks preservatives, so it has a shorter shelf life. Simple steps keep it tasty.
Storage: Once cooled, store bread at room temperature in an airtight container, bread box, or sealed plastic bag. This prevents drying. It stays fresh for 2-3 days. For a chewier crust, use a paper bag for day one, then airtight.
Freezing: For longer storage, freeze bread. Slice the cooled loaf first for portions. Wrap each slice tightly in plastic, then place into a freezer bag. Frozen bread keeps for 2-3 months. Label. Thaw slices at room temperature or toast from frozen.
Reheating: To reheat, use a toaster or toaster oven for slices, crisping the crust. For larger pieces, preheat oven to 350°F (175°C). Wrap bread loosely in foil to prevent drying. Bake 5-10 minutes, until warmed. This restores warmth and softness.
Your Quick Bread Questions Answered
Questions about baking are normal. Feel confident making this quick bread. Here are common questions and answers.
Why is my yeast not foaming?
If yeast does not foam, it may be old or inactive. Check expiration. Water temperature is crucial: 105-115°F (40-46°C). Too hot kills yeast; too cold prevents activation. Restart with fresh yeast and accurate water if no foam.
Can I use different flours for this recipe?
Yes, but adjustments are needed. Bread flour gives chewier texture, possibly needing more liquid. Whole wheat flour makes a denser loaf. Substitute no more than 1 cup for all-purpose; extra water may be needed. Gluten-free flours require specific blends, so direct substitution is not recommended.
How do I know when the bread is perfectly done?
The bread is done with a golden-brown crust. Tap the bottom; it should sound hollow. For accuracy, a thermometer in the center should read 200-210°F (93-99°C). This ensures a fully cooked interior. Pull it out when golden.
Well, my dear friends, there you have it. A truly wonderful recipe for quick 20-minute homemade bread. I hope you feel encouraged to try this simple baking adventure. There is nothing quite like pulling a warm, golden loaf from the oven. That aroma fills your home with instant coziness. This recipe makes that beautiful experience accessible to everyone.
Remember, baking should be a joy, not a chore. Do not worry about perfection. The beauty of homemade food lies in its unique character. Each loaf will have its own charm. The most important ingredient is always the love you put into it. This quick bread shows how simple ingredients create something spectacular. It is a little gift of comfort for your family.
So go ahead, gather your ingredients, and let the magic happen. I cannot wait to hear about your baking successes. Share your creations and how you enjoyed your warm, fluffy bread. Whether with butter, alongside soup, or as a quick sandwich, it will surely bring smiles. Happy baking, everyone! From my New England kitchen to yours, with warmth and gratitude.
Reader Reviews
Wow, this recipe delivered! I was skeptical about 20 minutes, but the bread came out perfectly fluffy and tasted amazing with dinner. Definitely my new go-to for quick bread.
This was surprisingly easy and so much better than store-bought. Mine took about 25 minutes total, but that's still fantastic for fresh bread. Loved the light texture!
A solid quick bread recipe! It didn't get quite as 'fluffy' as I'd hoped, but it was still very tasty and incredibly fast to make for a weeknight meal.
Absolutely incredible! I followed the instructions precisely and had warm, delicious bread in no time at all. This recipe is a lifesaver for busy evenings.
So impressed with how quickly this came together! The crust was lovely and the inside was soft. Perfect for when you need fresh bread ASAP.
Leave a Review